eTrafficNetwork Banner Exchange Tutorial
First, clicking the sign up button brings up the following self-explanatory form.

And when you fill it in, you see this

The following welcome email is then sent to you
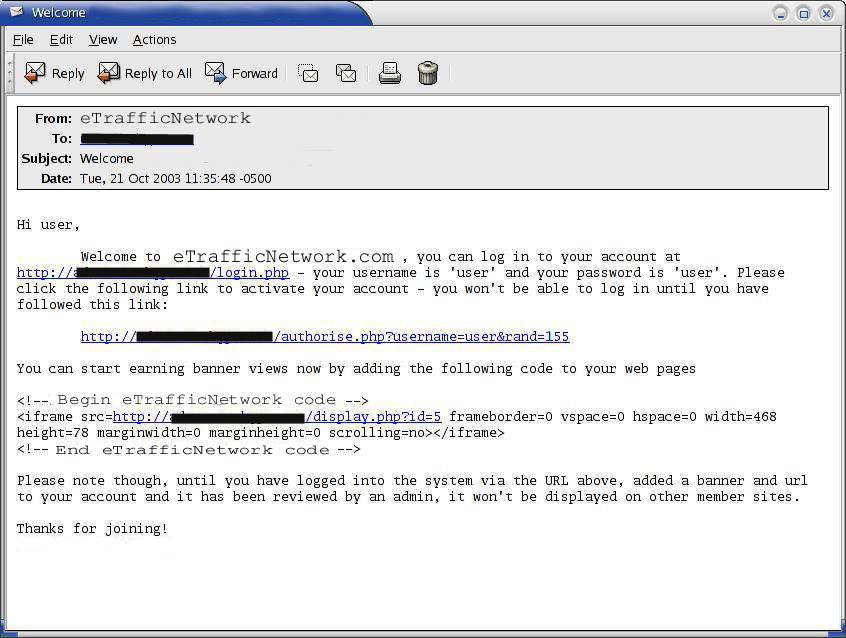
On clicking the authorisation link, you're shown the following

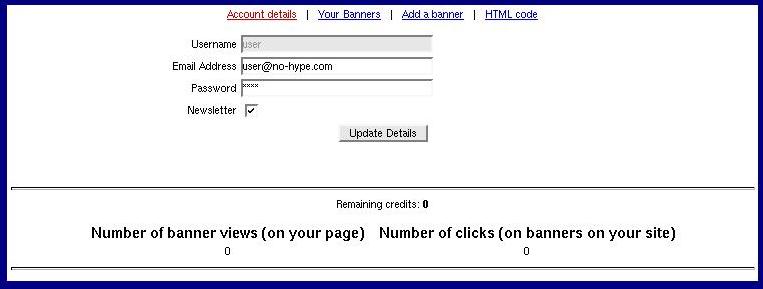
And after you log in, you're greeted with the following, it shows you your sites stats, lets you change your personal details, and has links to the rest of the account settings pages.
Clicking "Your banners" shows you your banners (and accompanying stats) - in this case, this test account hasn't added a banner.

So, for the sake of the tutorial, let's add a banner.
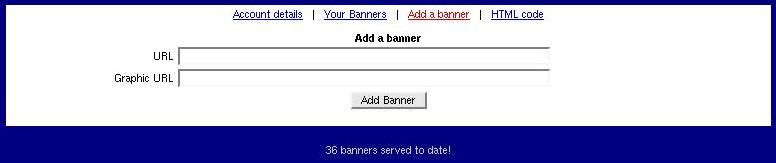
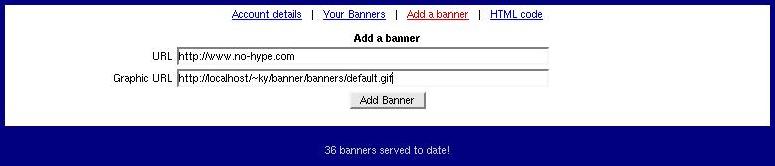

Yay, that was painless. Now if we go back to "Your Banners" we can see how it's doing
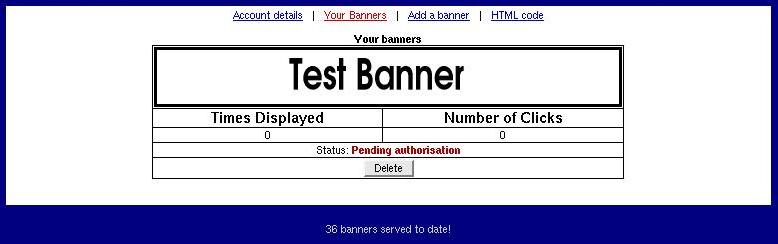
It's not authorised yet, but authorising banners is the E Traffic Network administrator's job(usually a 1-2 day wait), so let's go see the html code instead - this is what you put on your pages, it tracks banner impressions and clicks

And here's the end result! That was very fast and very easy!